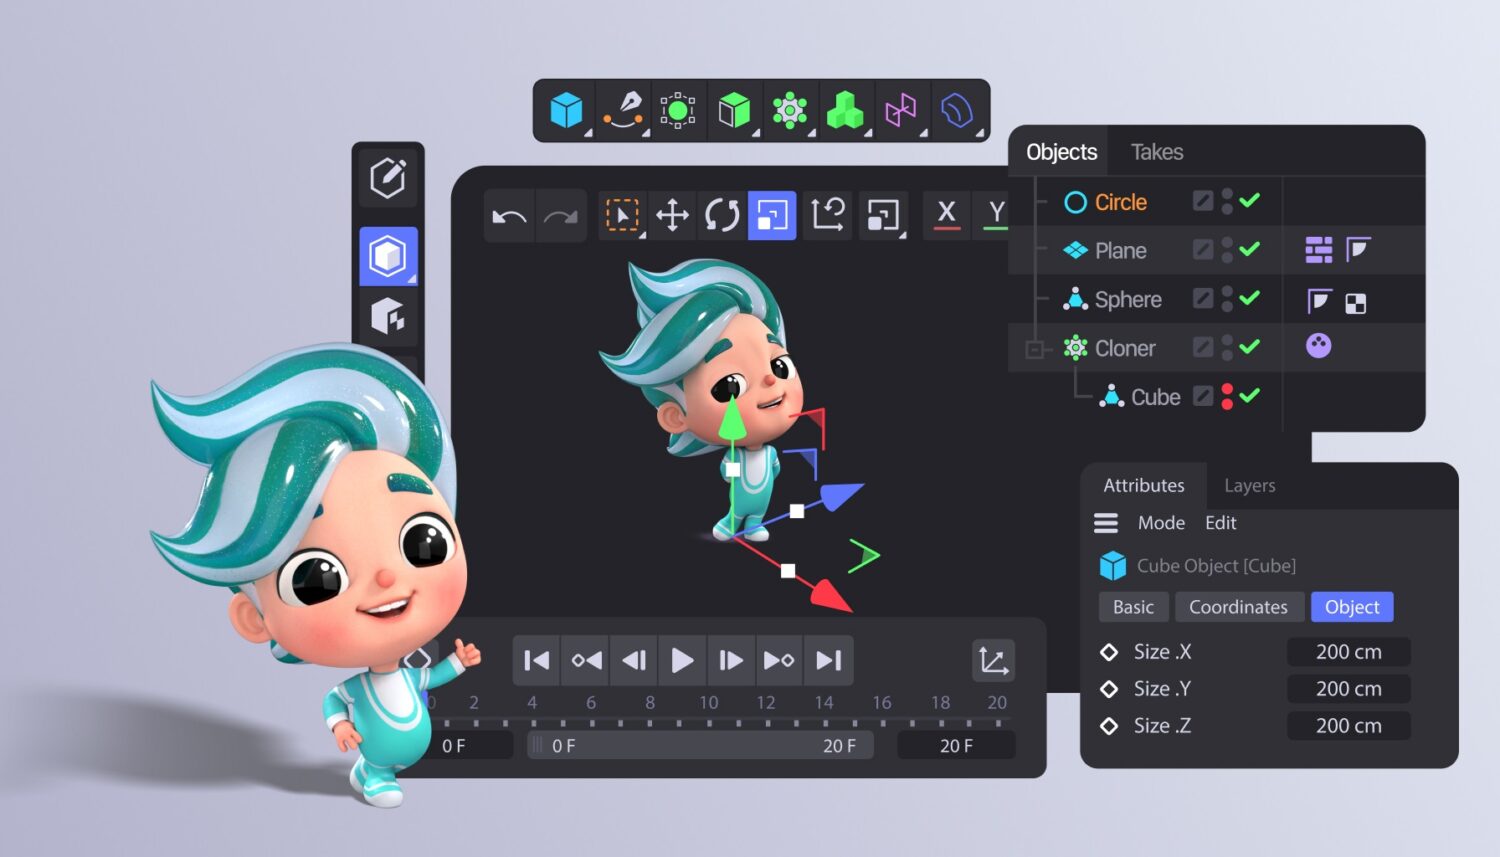
Breathing life into your brand can have a lasting impact. When people perceive your brand and business as living entities, establishing an ongoing relationship with them becomes more straightforward.
Brand mascots are powerful tools that can help you achieve this valuable goal. However, not all mascots will prove helpful in this endeavor.
The art of animating a brand mascot, involving various techniques to bring it to life, is crucial. This blog is about this art.
We will explore a proven framework brands can utilize to achieve this lofty goal.
However, we should first look at the definition of the brand mascot. Let’s begin.
What Is a Brand Mascot Exactly?
A mascot is an imaginary character that can be a person, animal, or even object accepted by the masses as an icon for something.

Regarding branding, a mascot refers to a character that represents a specific brand in people’s minds. The mascot embodies characteristics, values, personalities, and the message that a business tries to convey through branding.
It is safe to say that well-crafted mascots effectively connect brands with their target audience. Therefore, it is essential to consider tips for creating a good mascot.
As these characters are used in various marketing efforts, enhancing brand equity is one of their primary advantages.
For instance, some great examples of successful brand mascots are:
- Mickey Mouse for Disney
- Michelin Man for the tire company Michelin
- Colonel Sanders for KFC
- Duolingo the owl for Duolingo
- Julio Pringles for Pringles
The moment you see one of these mascots, the brand they represent comes to mind. This results from creating a mascot that people deeply resonate with.
Assuming you have already established your brand’s mascot, let’s go ahead and find out how to animate it and bring it to life.
6 Stages To Successfully Animating Your Brand’s Mascot
Creating a good mascot is just the beginning! You should know how to animate it properly to achieve more goals and get the most out of your brand’s mascot.
After establishing the desired mascot according to your brand’s strategies, it is time to use it in your print ads, animations, teasers, designs, etc. We will help you with this. To achieve the best possible outcome, follow the following steps.
1.Sketching Multiple Concepts Based on Profile
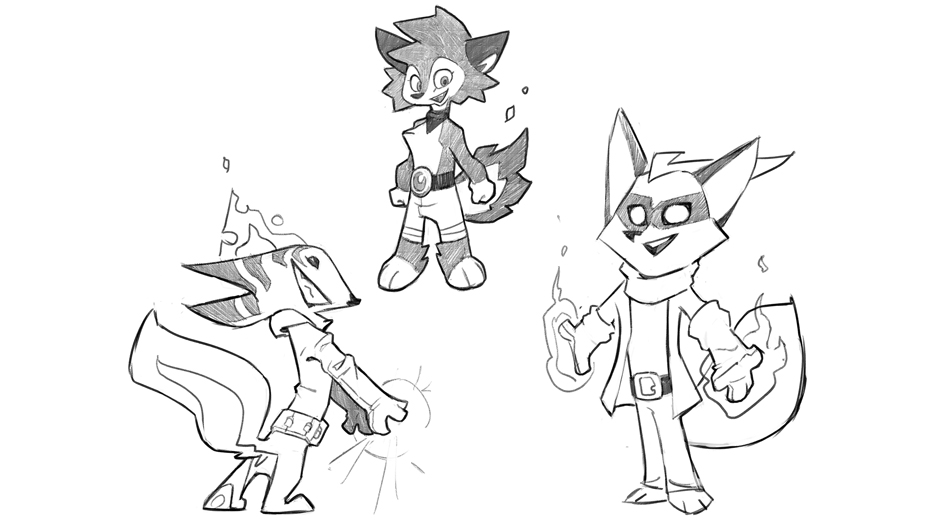
Look into the mascot’s profile and gather information about its characteristics.
As mentioned above, a well-crafted mascot is designed according to the brand’s core values and traits. However, more research will not harm anyone and ensure you are on the right track.
Acknowledging its key traits is a must! Is it a playful bunny or a wise old turtle that conveys a sense of trustworthiness to the target audience?
The former must be designed with a happy face to convey the correct sense, and the latter’s face probably should have wrinkles.
Based on the information you gathered, start sketching and provide several prototypes.
As stated in this section’s heading, let us emphasize creating multiple sketches. This is the first stage, and you should consider numerous options to increase diversity. So, do not be stingy.
Gather a team of people inside the firm and show them those sketches. Ask their opinion and get feedback. Remind them that sketches are just prototypes and that the final result will differ from what they witness.
Ultimately, choose five sketches with the highest votes. Leave all others behind and proceed to the second stage of animating the mascot.
2.Back-and-Forth Process to Modify the Character
Focus on those five sketches that got to this stage.
As you know, sketches are raw drawings, and now you have to modify them.
It requires back-and-forth editing to get the best result. The first edits never result in the best outcome. Keep editing all sketches to get the modification to the highest level.
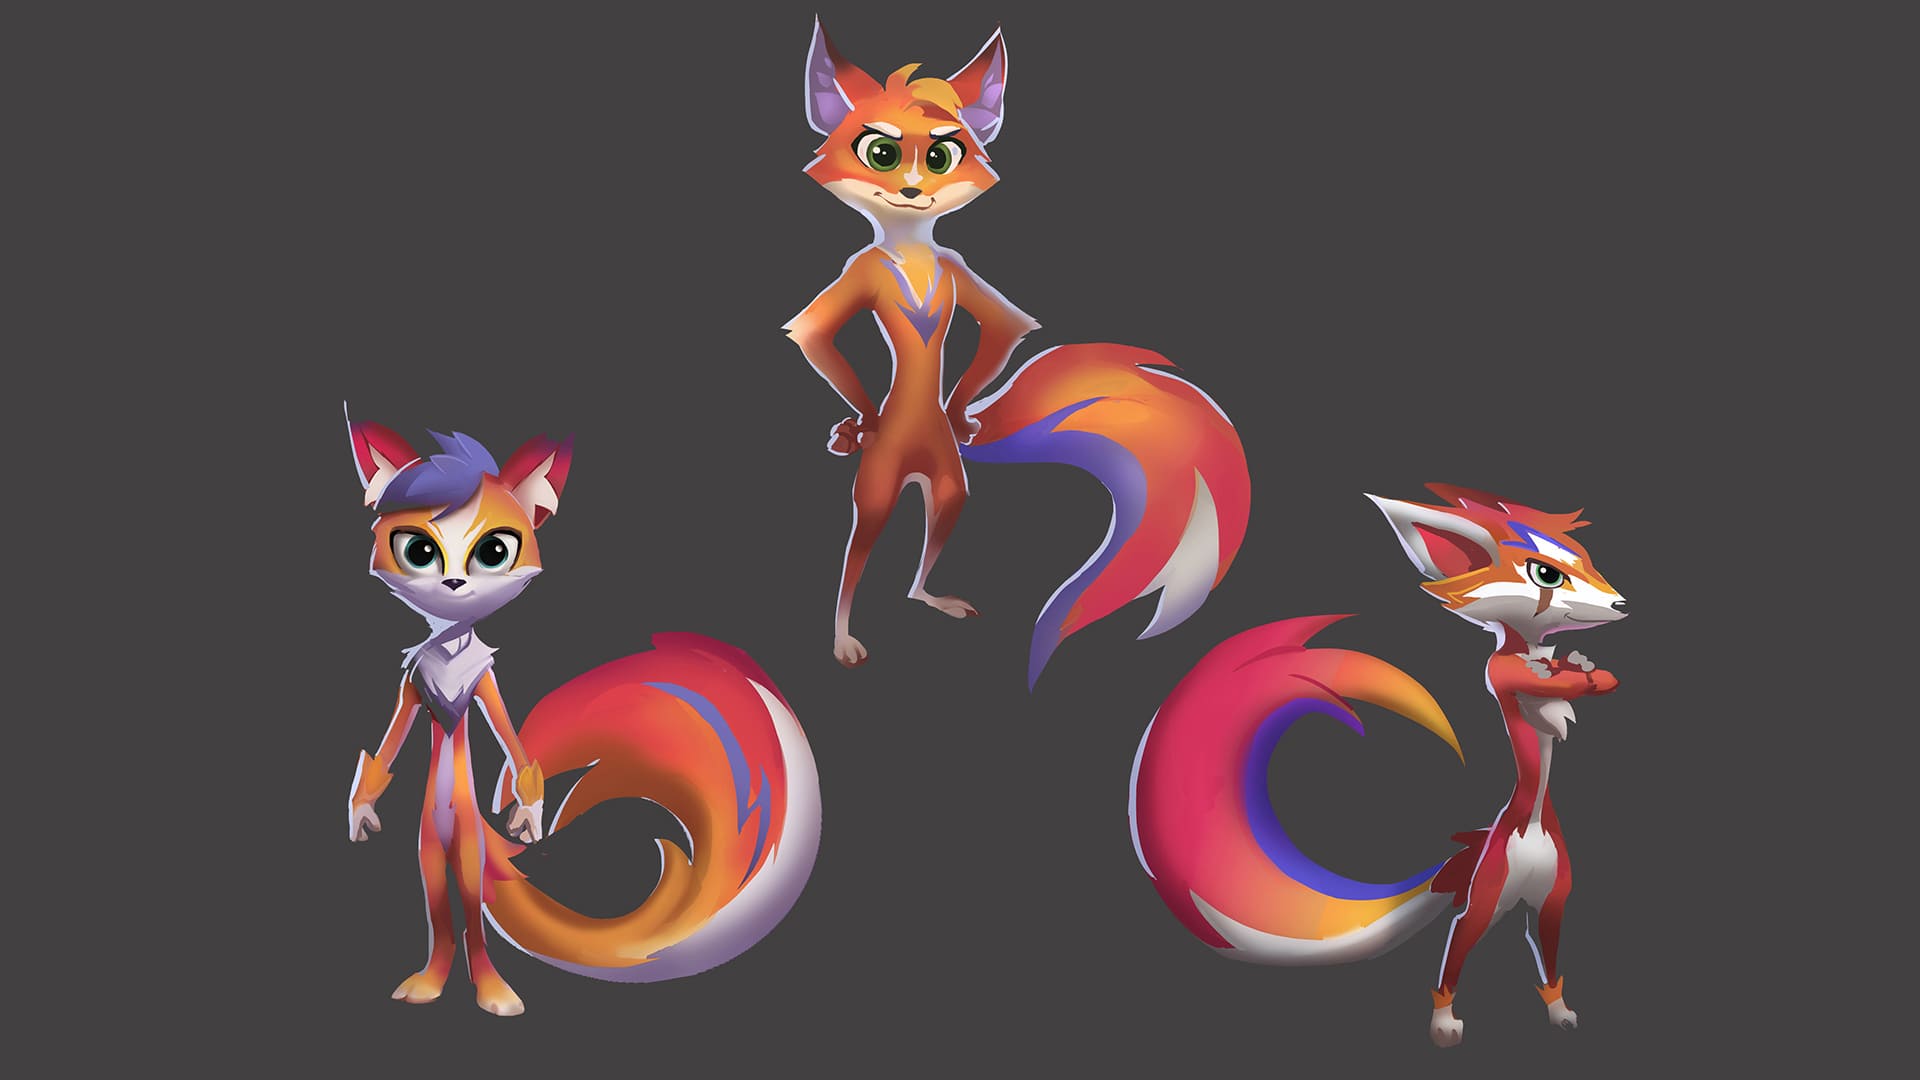
Again, consult with others to determine which areas need improvement and consider what you must enhance. Maybe the appearance should change, or another body shape will work better.
Zoom on appearance, as it is the most critical aspect in this stage. In the following stages, you will fine-tune poses and movements.
Height, weight, form of feet and hands, dress, hair, etc., should all be taken care of here.
Now, you have five refined concepts. One is your mascot, so selecting the best one is the next step.
3.Candidate selection and style choosing
Form a session with stakeholders, managers, marketing team members, and everyone involved in decision-making about the animating mascot.
Show them modified versions of those five sketches everyone agreed upon previously.
Explain to them what you have done and the reason behind your efforts. It is suggested that you provide a detailed report about this stage.
Ask their opinion on refined concepts. Listen to their feedback and answer their inquiries.
Perform a poll to find out which concept everyone sees as suitable for animating the mascot.
Now, the final candidate has been chosen, and the animation style of the mascot is determined. However, the work is still ongoing.
The winner is yet a prototype and needs polishing to become the final outcome.
4.Refining the Mascot: Final 2D Version
Having the final option in hand, it is time to add details and polish the prototype.
The goal is to create the final 2D version of the mascot in the colors you have already chosen.
First, polish the prototype. Eliminate unnecessary objects and add more details based on the feedback you received from executives. More information makes the animating process easier.
Pay attention to clothes, accessories, facial attributes, etc. Consider consistency, as you want the 2D version to be flawless.
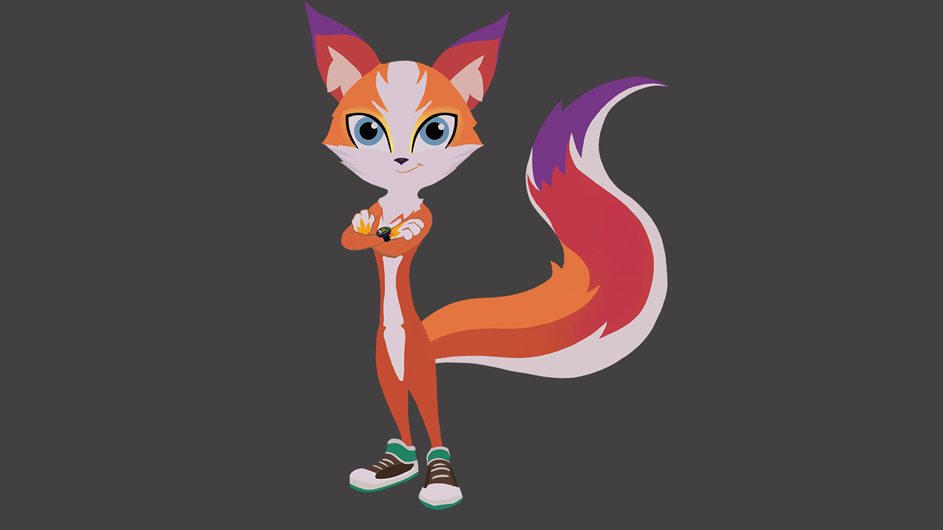
Keep the brand’s image in mind to avoid possible deviations.
After creating the colorless mascot with all the details we discussed their importance, start adding colors to the 2D version you are building. Colors will breathe life into the mascot in a way you can not imagine. Therefore, using proper colors is essential.
Once the color addition is finished, review the 2D mascot. Look for awkward shaping and unusual lines, and refine any possible issues.
Opt for professional software dedicated to this matter, such as Adobe Illustrator, to make the job easier.
When you finish creating the 2D model, gather a smaller group of people you trust and ask for their feedback. If their opinions are valid and reasonable, adjust changes and present the final result to those in charge.
3D Character Modeling, Texturing, and Rigging
Now that the mascot’s 2D model is ready and approved, you should start creating the 3D model to complement the process of animating the mascot.
In the first step, you should model the 3D shape based on the 2D model you created. Several practical software programs, such as Blender and Maya, are available for this stage. You give them the 2D model, and they translate it into a three-dimensional model.
These software pay close attention to even the most minor details, meaning you can expect an outcome that matches the 2D model exactly.
After shaping the 3D model, the appearance creation phase begins. This phase, called texturing, involves adding colors, patterns, and any kind of surface detail related to the model. This is where the mascot becomes more stylized, according to its defined aesthetics.
Once texturing is completed, it is time for rigging. All 3D models require a digital skeleton, which helps to make them movable in animations. Rigging is about creating this skeleton for your mascot’s 3D version.
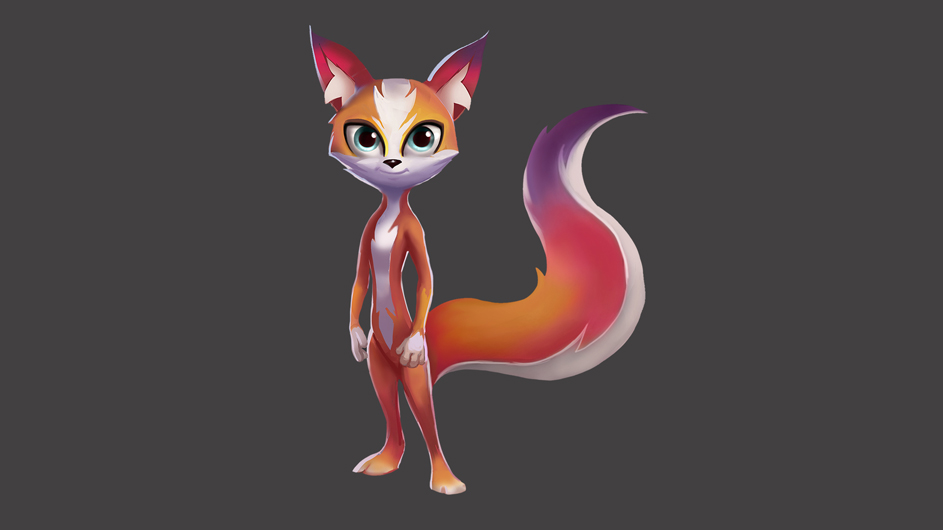
As a result, the 3D model will have a hierarchy of bones and joints, just like the human body. This process provides necessities for the creator to control the model’s movement in the desired way.
Additionally, rigging defines how each body part should react to skeleton movement, ensuring smooth and natural-looking animations.
When rigging is done, your 3D model is ready. Show it to authorities, and if they approve it, proceed to the final stage of animating the mascot and bringing it to life.
6.Pose and Facial Expression Design
In the last stage of this process, you must design static positions and actions for your mascot’s 3D model. Each pose you create conveys specific emotions, like joy, fear, excitement, etc.
Think of how the mascot should interact with the various environments you will put it in. Design and define different movements based on the mascot’s key characteristics and overall profile.
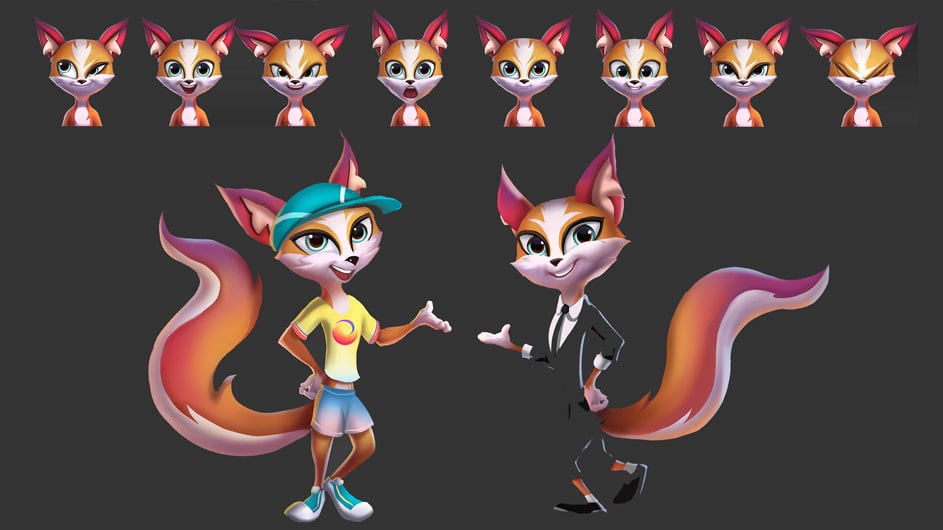
Referring to the playful bunny and old wise turtle example we quoted above, the first one must jump, move around quickly, and appear attractive. The latter should have a beautiful, attention-grabbing voice and stay still or sit often.
Design different situations and movements: two poses and three facial expressions, as suggested in the heading.
To create great facial expressions, consider the form of eyebrows, lips, cheeks, eyes, and everything else on the face. Keep your design consistent to animate the mascot successfully. Everything must align with the brand’s guidelines and follow predetermined rules.
Once you have designed and created poses and facial expressions for the brand’s mascot, everything is ready, and the business can use the mascot in animations, teasers, and all content formats.
Although following these stages guarantees success in animating a mascot and bringing it to life, it is hard work that requires expertise, undoubtedly.
So, why not outsource it to professionals?
The Dream Farm Studios Will Animate Your Mascot
We have covered everything you should know about animating your mascot in six stages to provide a comprehensive guide on this topic.
However, as said above, it is not painless; predictably, many find this process complicated. If you are among those who doubt their ability to bring the brand’s mascot to life, you can count on us in the Dream Farm Studios.
Besides all branding services, we offer our customers mascot creation and animation. Contact us to discuss details and proceed.

